Azure DevOps with Raspberry Pi Blog Post Series
This is Part 1 of an 8 part series in getting Azure IoT Edge setup with the Raspberry Pi.
You can read the other parts here…
Part 2 – Creating an IoT Hub and Edge Device
Part 3 – Creating an Azure DevOps Organisation, Project, Settings, etc
Part 4 – Setting up the Azure IoT Edge Device Pi
Part 5 – Setting up the Azure IoT Edge Build Pi
Part 6 – Creating an Azure Container Registry
Part 7 – Download the Azure DevOps Project Source Code
Contents
In this post we’ll run through getting Raspbian Buster set up on two Raspberry Pi’s ready to get Azure IoT Edge up and running.
What we’ll be doing
Step 1 – Writing Raspbian Buster to an SD Card
Step 2 – Raspbian Buster Setup
Step 3 – Raspberry Pi Settings
What we’ll be doing
Working up to my talk on DevOps in an IoT World at DevOps Notts in February 2020, I worked through getting a CICD Release Pipeline working with Azure DevOps and a Self Hosted Build Agent running on a Raspberry Pi.
This turned out to be more complicated than I’d envisaged due to dependencies of the Build Agent for the Pi.
With that in mind I’m detailing here the steps to get a full Azure DevOps Raspberry Pi CICD Pipeline up and running.
The setup I’ve used is a Raspberry Pi 3 as a Custom Build Agent and a Raspberry Pi 4 as the actual Edge Device.
The Azure DevOps Pipeline can than build the Edge Module code directly on a real Pi, which deploys the artifacts back to the pipeline ready for deployment to the Edge Device Pi.
1: Writing Raspbian Buster to an SD Card
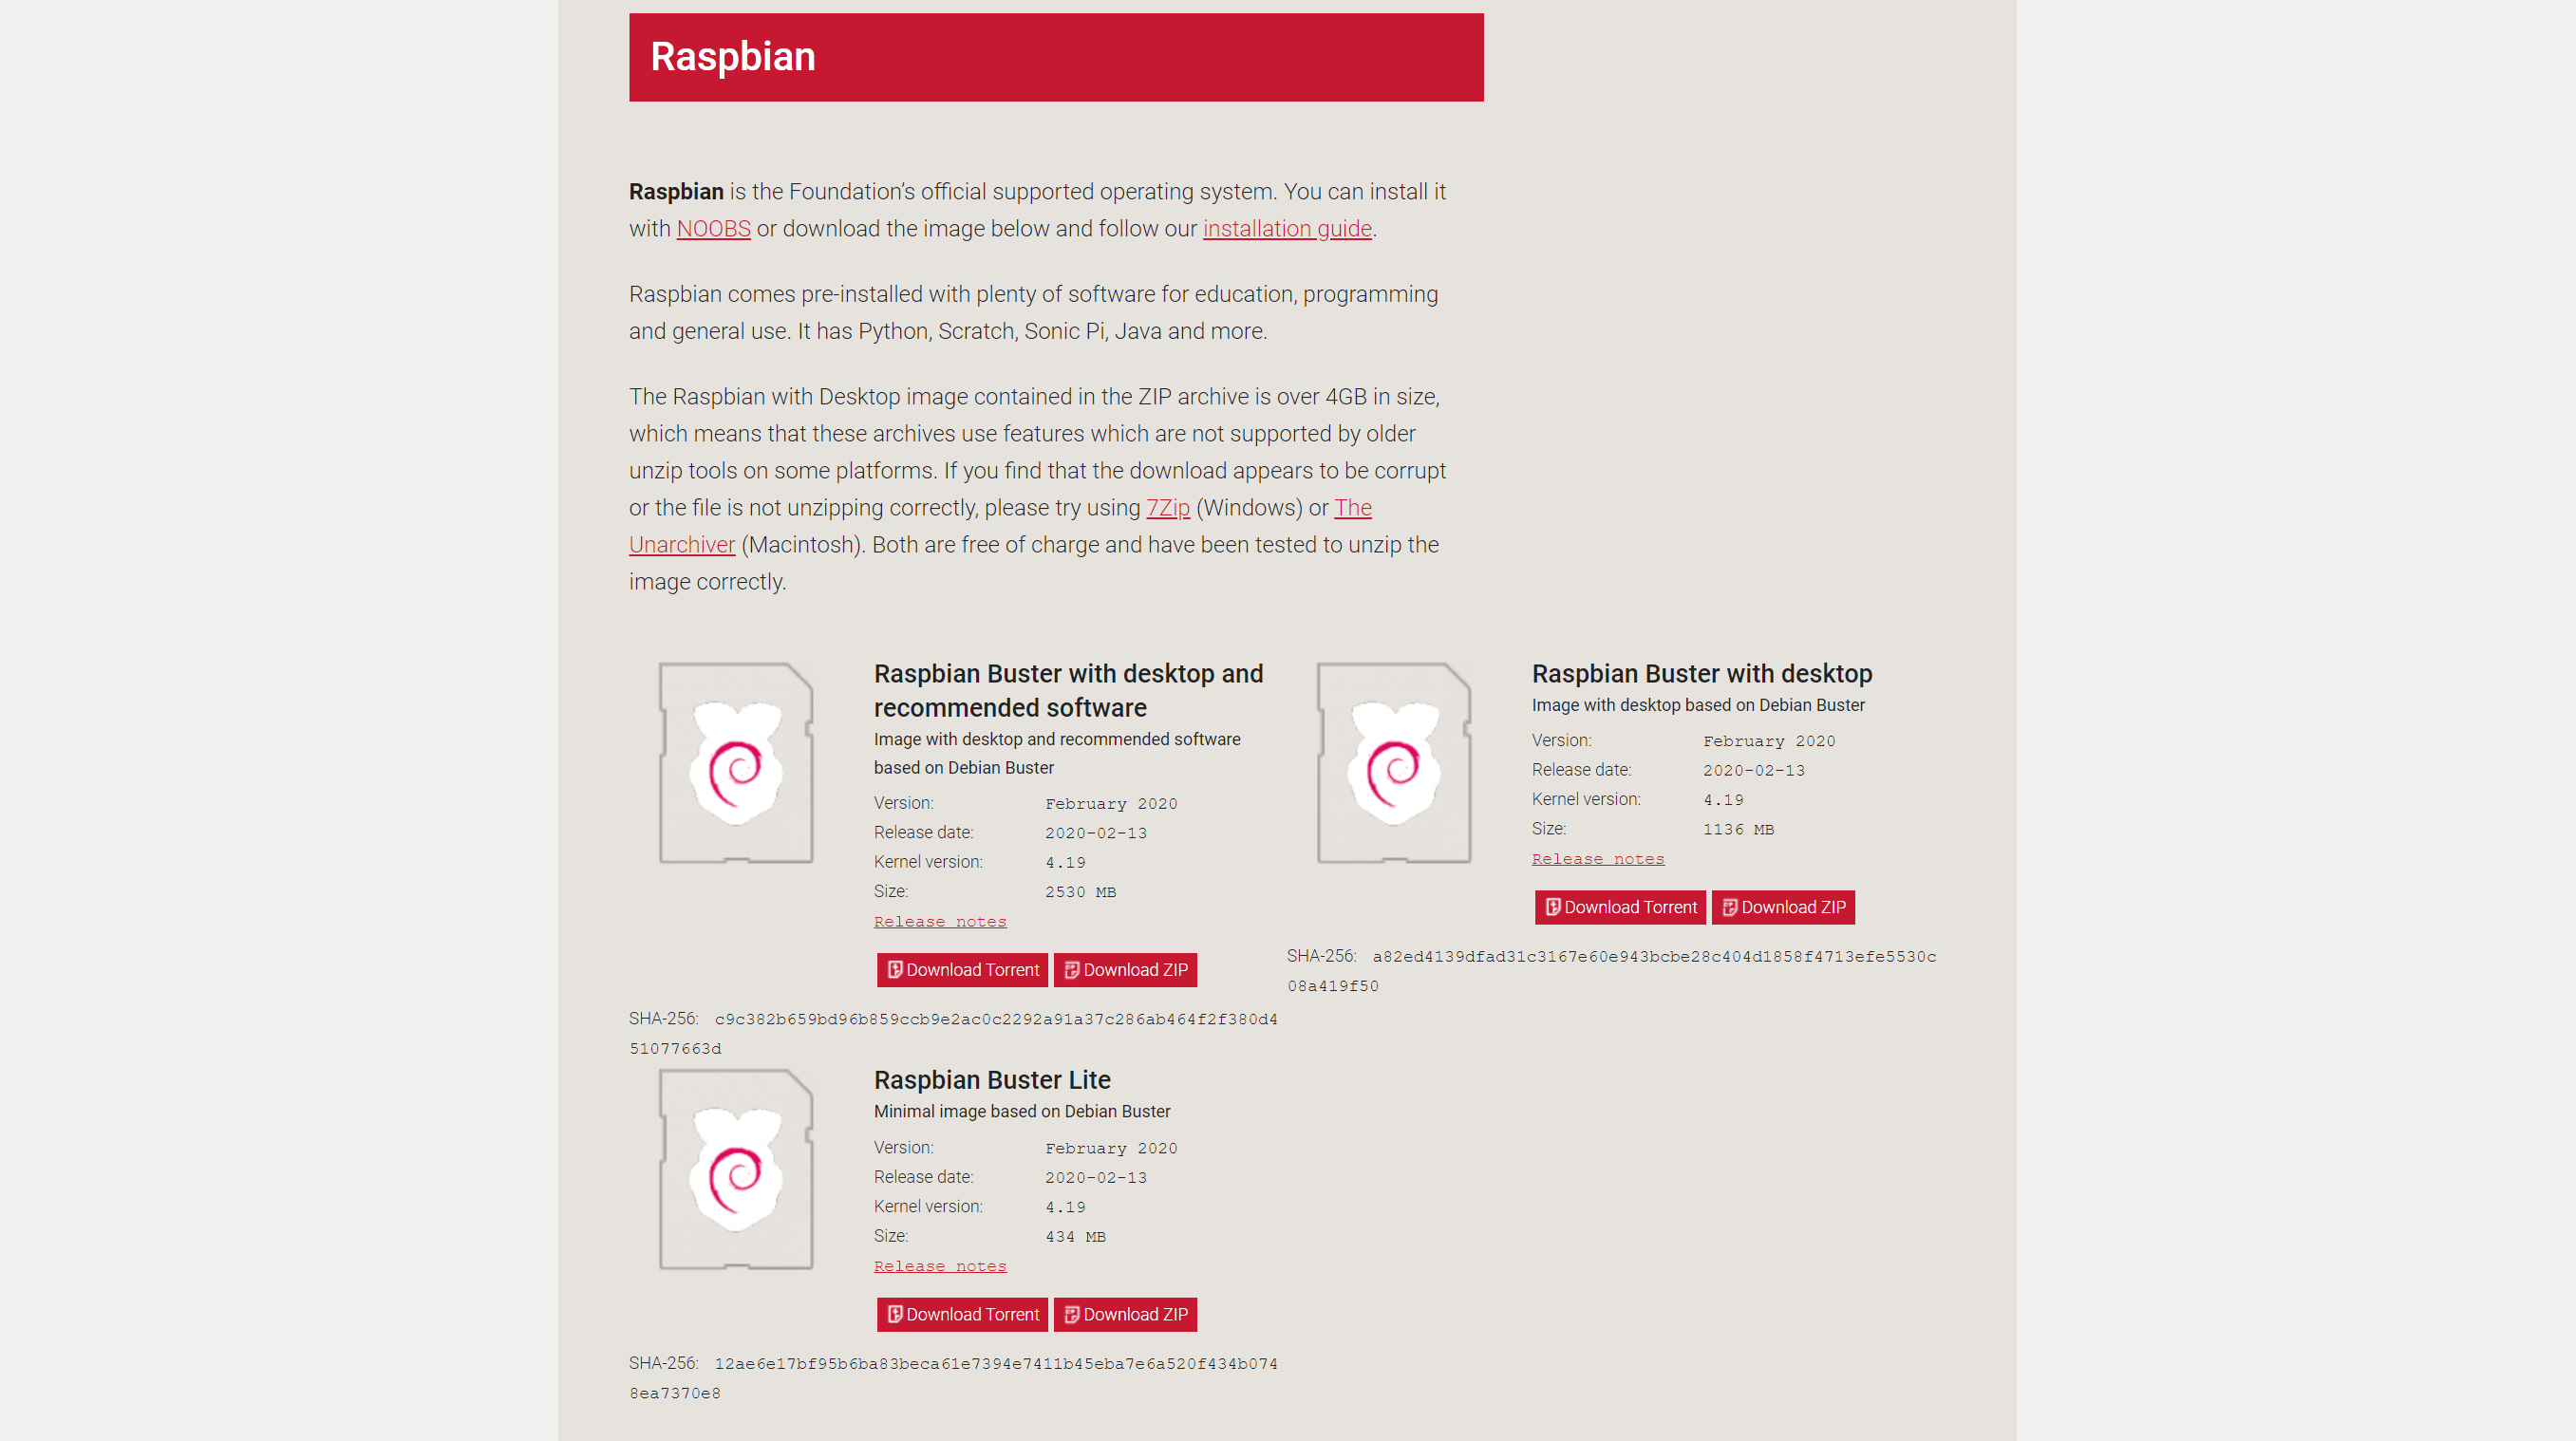
The first thing we need to do is get our Raspberry Pis Setup. We’ll be using Raspbian Buster here as, at the time of writing, this is the latest OS.
Go ahead and download the latest image from the Raspberry Pi Website here.
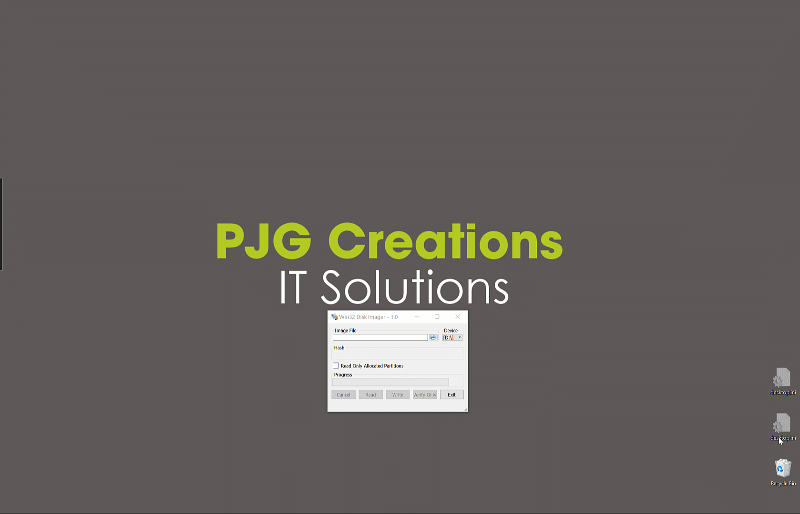
Once you’ve downloaded and extracted the image, you’ll need to write it to a couple of SD cards, one for each Pi. I use Win32DiskImager, which you can grab from here.
Grab a suitable SD card, 16GB or 32GB is ideal, and plug it into your computer using a suitable SD card adapter.
Now you can start Win32DiskImager and open the image using the open folder icon beside the “Image File” text box. Next, choose the drive that corresponds to your SD Card (BE CAREFUL!) using the “Device” dropdown, and hit the “Write” button to begin writing the image.
2: Raspbian Buster Setup App
Next up we need to setup Raspbian ready to start installing the various bits of software.
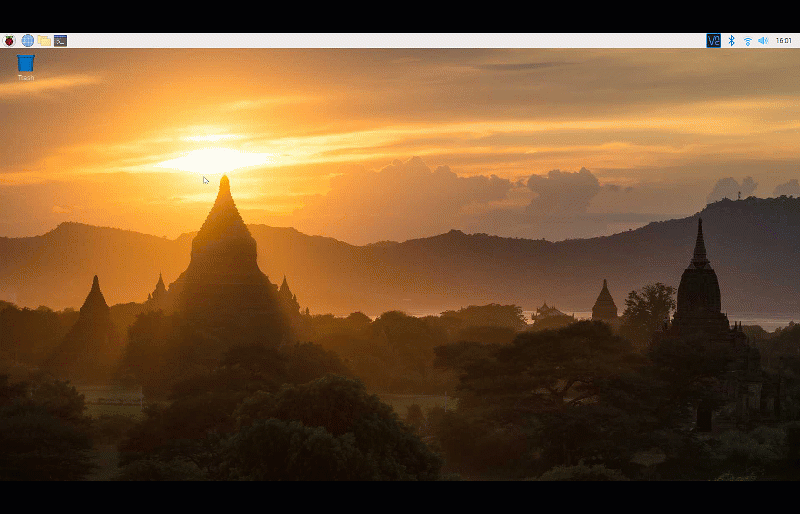
When you first start the Pis up with the vanilla Buster Image installed, they will run you through the setup procedure, allowing you to set the Language, the screen settings, the WIFI etc, before downloading and installing the latest updates. Run through all of that and restart both Pis.

3: Raspberry Pi Settings
Next up we need to set the names of each of the Pis and also which interfaces to enable.
For the Edge Build Agent Pi we’re going to set the Host Name to “iotedgebuild“, we’re just going to need SSH and VNC, as we only really need terminal access.

For the Edge Device Pi we’re going to set the Host Name to “iotedgedevice” and we’ll need VNC, SSH, SPI, I2C and Camera Access to allow us to fully control the Pi.
You can now go ahead and restart both Pis…
To be continued…
In the next post we’ll go through and setup the various Azure resources we need.